Getting Started with Digital Invitations
Learn how to create your first digital invitation in just a few minutes
Design Team
February 10, 2025
Getting Started with Digital Invitations
Creating a beautiful invitation has never been easier. Whether you're planning a wedding, birthday party, or corporate event, our invitation designer makes it simple to customize professional templates without any design experience.
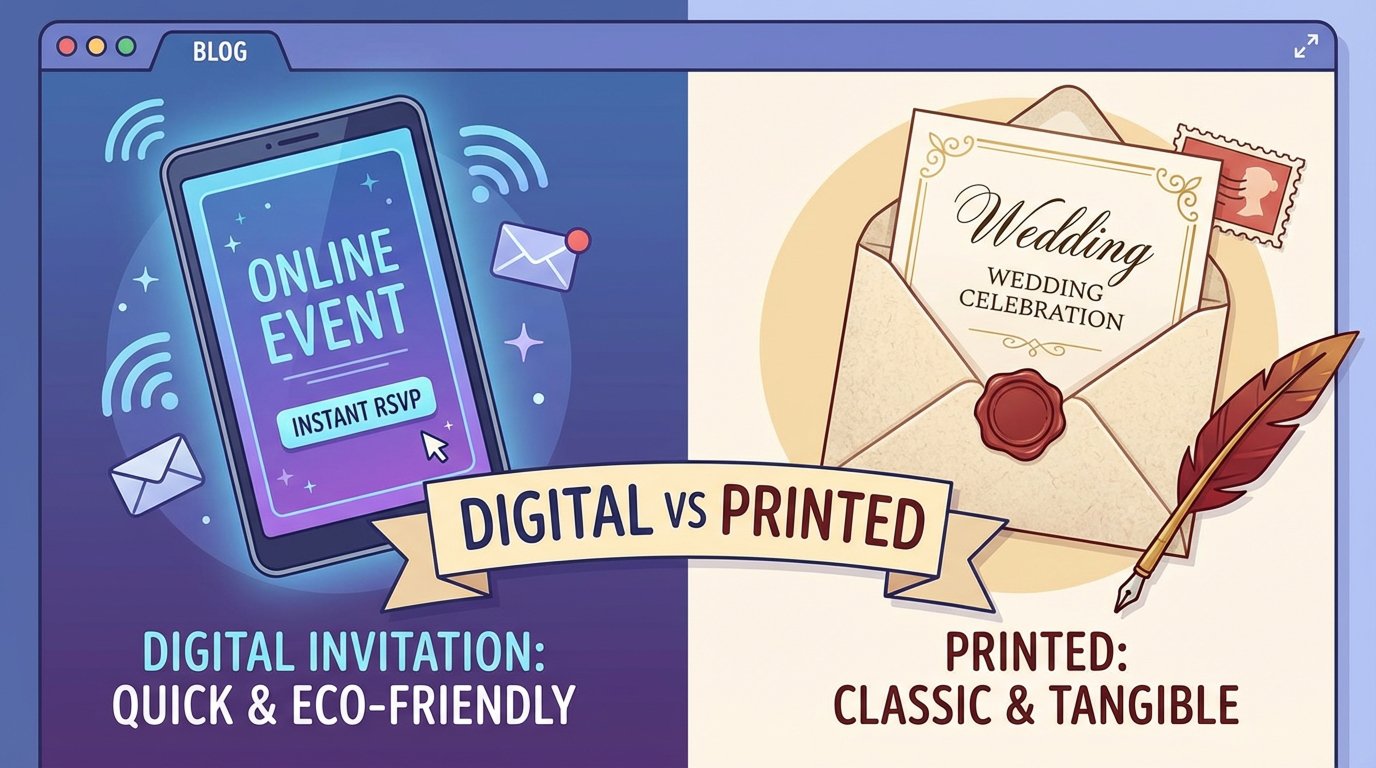
Why Digital Invitations?
Digital invitations offer several advantages over traditional printed ones:
- Instant Delivery: Send to guests immediately via email or messaging apps
- Cost-Effective: No printing or shipping costs
- Eco-Friendly: Reduce paper waste
- Easy Updates: Change details anytime before sending
- Interactive: Add RSVP links and event details
- Trackable: See when guests open your invitation
Your First Invitation in 3 Steps
Step 1: Choose a Template
Browse our collection of professionally-designed templates organized by event type:
- Wedding invitations
- Birthday party invites
- Anniversary celebrations
- Baby shower announcements
- Graduation parties
- Corporate events
Each template is fully customizable to match your event's theme and colors.
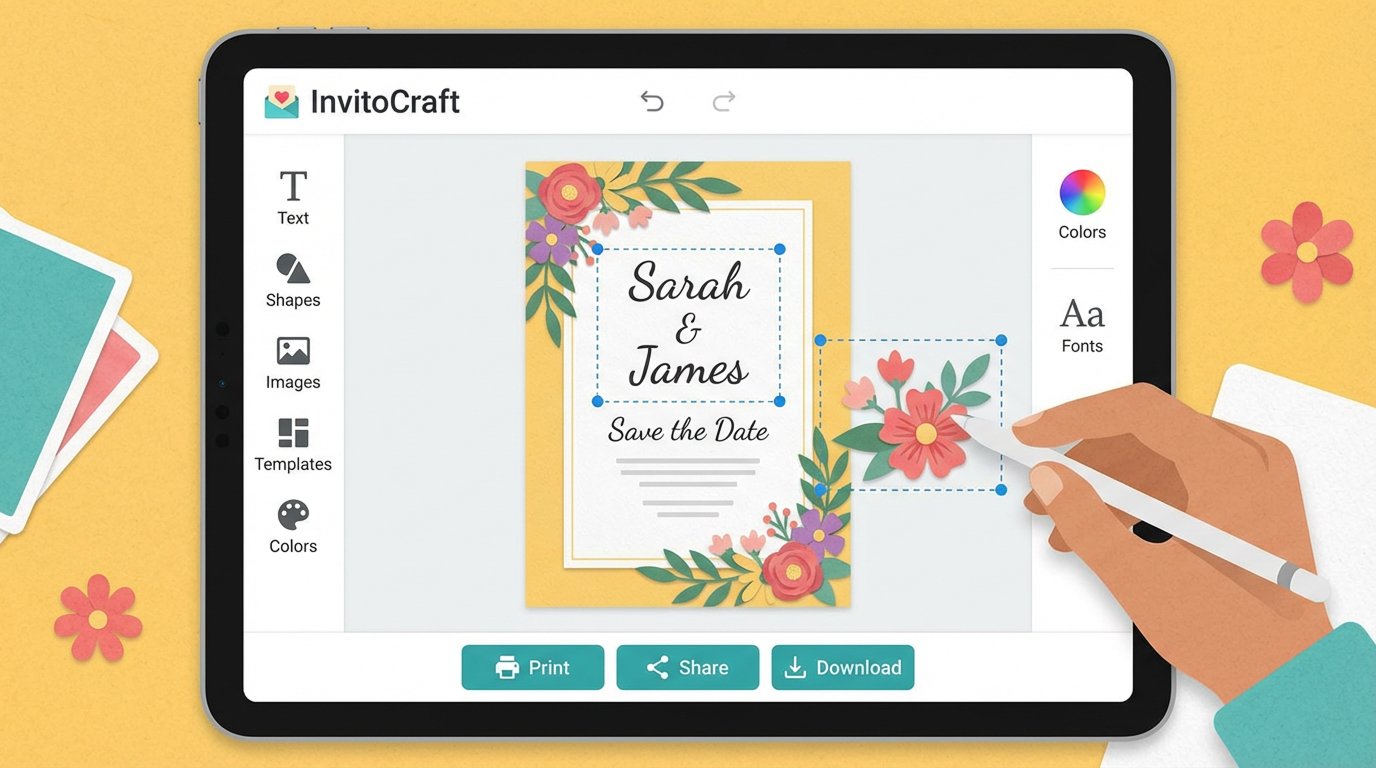
Step 2: Customize Your Design
Personalizing your invitation is straightforward:
- Add Names: Fill in the guest of honor and other key details
- Update Dates: Set the correct date, time, and location
- Adjust Text: Customize any message or description
- Preview: See your changes in real-time as you edit
Step 3: Download and Share
Once you're happy with your design, download it as a high-quality image and share it however you like:
- Email to guests
- Share on social media
- Print at home or a local print shop
- Message via WhatsApp or other apps
Pro Tips for Great Invitations
Keep it Simple: Don't overcrowd the design with too much text. Focus on the essential details: who, what, when, and where.
Use Readable Fonts: Make sure all text is easy to read. Avoid tiny fonts that guests might struggle with.
Test Before Sending: Send yourself a test copy to check how it looks on different devices and email clients.
Proofread: Double-check all spelling, dates, and contact information before sending to guests.
Timing: Send invitations 4-6 weeks in advance for formal events, or 1-2 weeks for casual gatherings.
Next Steps
Ready to create your first invitation? Start by visiting our template gallery and selecting a design that matches your event. You'll be amazed at how quickly you can create something beautiful!
Have questions? Check out our FAQ or reach out to our support team.